| Home » Categories » General IT Services » Productivity & Collaboration Tools » Exchange Email and Calendar Services » Frequently Asked Questions (FAQ) » Email Related |
How to create Auto CC rule in Microsoft Outlook? |
|
Article Number: 178 | Rating: 4.6/5 from 25 votes | Last Updated: Thu, Oct 3, 2019 at 11:08 AM
|
|
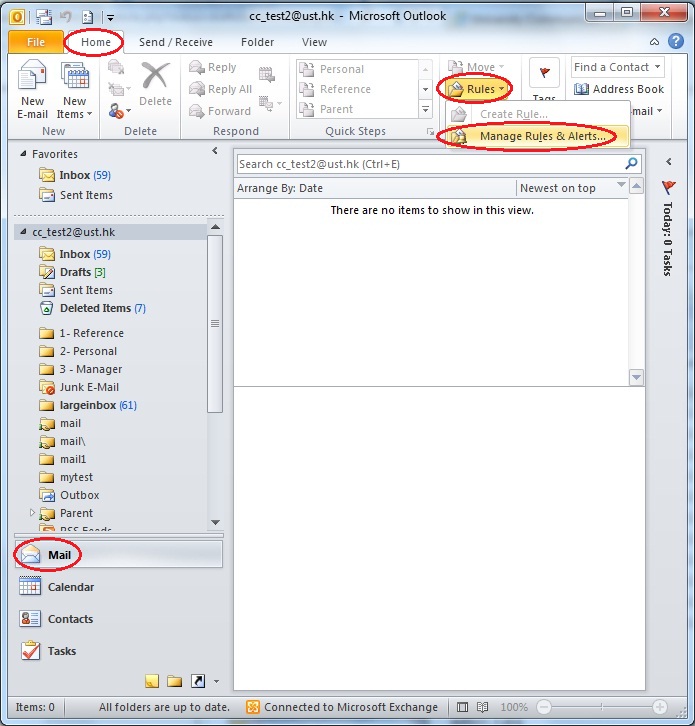
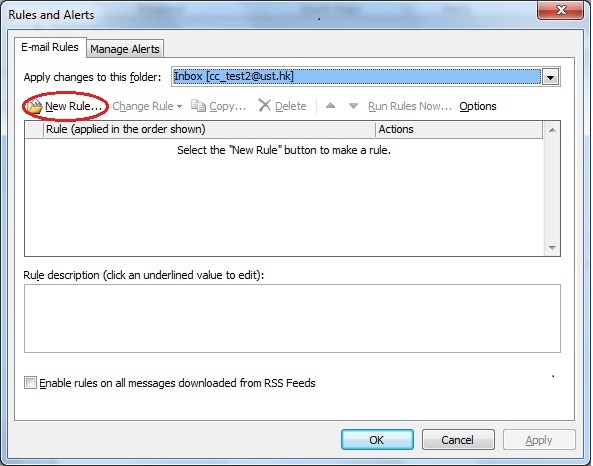
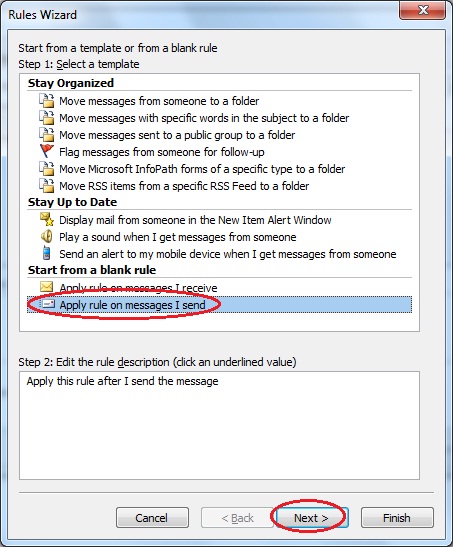
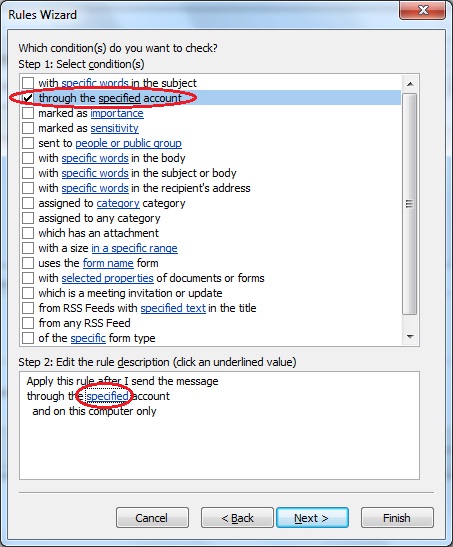
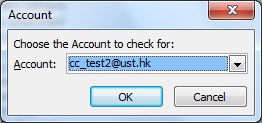
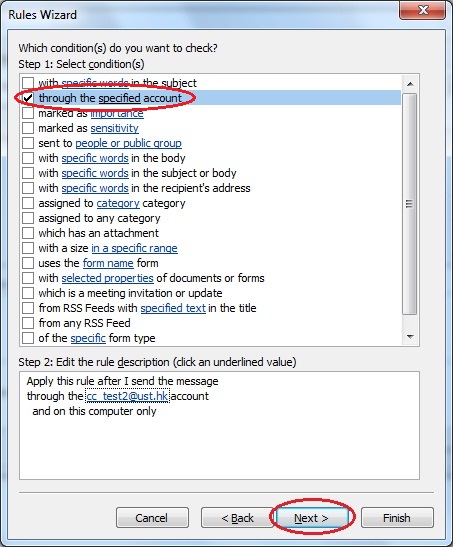
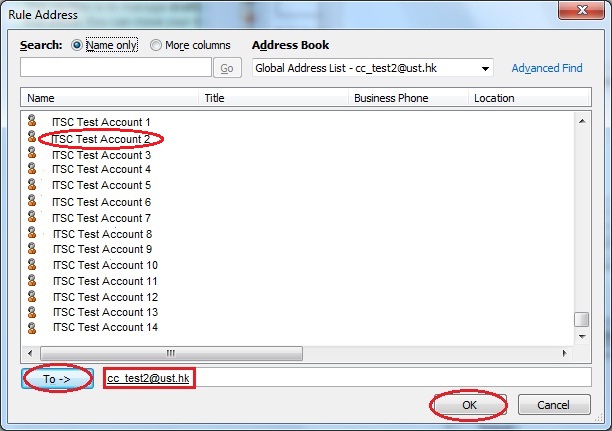
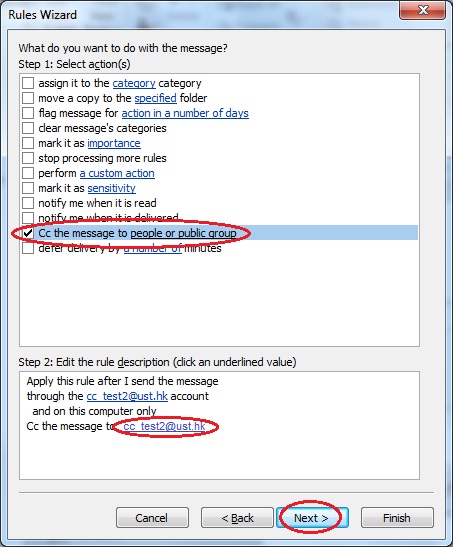
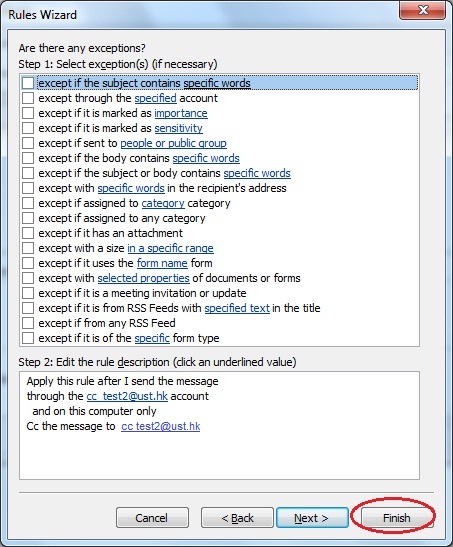
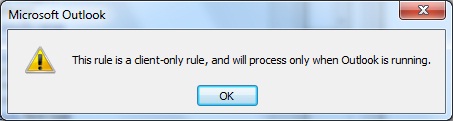
In case you want to automatically CC a copy of message that is sent from your desired exchange email account with Microsoft Outlook, you could follow the procedures shown below to create an Auto CC rule and make it effective in your current copy of the Microsoft Outlook.
|
Attachments

There are no attachments for this article.
|
Related Articles
Cannot view pictures in signed email using Outlook for Windows
Viewed 2582 times since Wed, Dec 12, 2018
After migrated to Exchange, I cannot receive scanned document with more than 4 pages?
Viewed 14790 times since Tue, Jul 10, 2012
Message deleted in Thunderbird not reflected in Outlook, are there any workarounds?
Viewed 4435 times since Tue, Mar 27, 2012
Exchange Email - How to send secure email?
Viewed 25939 times since Wed, Jan 11, 2012
How can I purge the content of folders (e.g. Junk E-mail, Deleted Items) automatically, to reclaim usable email quota ?
Viewed 10823 times since Tue, Mar 6, 2012
My Outlook receive "Undeliverable" message with unknown reason, can this be improved?
Viewed 6268 times since Mon, Jan 20, 2014
Exchange Email: How to read message header with OWA or Outlook?
Viewed 15703 times since Fri, Jan 13, 2012
Manually Update Your Local Copy of The Global Address List (GAL)
Viewed 10619 times since Wed, Feb 22, 2012
How to set up MacMail?
Viewed 8425 times since Tue, Jun 19, 2012
HKUST WebMail cannot search messages by email address after migrated to Exchange, is there any solution?
Viewed 5221 times since Mon, Jul 30, 2012
|
| KB Home | |
| ITSC Knowledge Base |
|
|
|